Instructions Element
|
|
Bank Transfer Instructions This is a read-only element that displays the bank transfer instructions to the payer. It must be used in conjunction with the bank transfer payment element. How is this element used? The bank transfer payment element automatically shows the instructions to the payer. To make is easier for your payer to access this information at a later point, you can display the instructions again with this element. To be able to make a bank transfer payment, it is crucial that the payer has access to the bank transfer instructions. There are multiple options for the payer to access the information:
How long can I display the instructions? Bank transfer instructions are only available as long as the payment is in status Customization Options
|
Content of the Instructions Element
Header
If you are using Smart Rendering, you can control the size of the header.
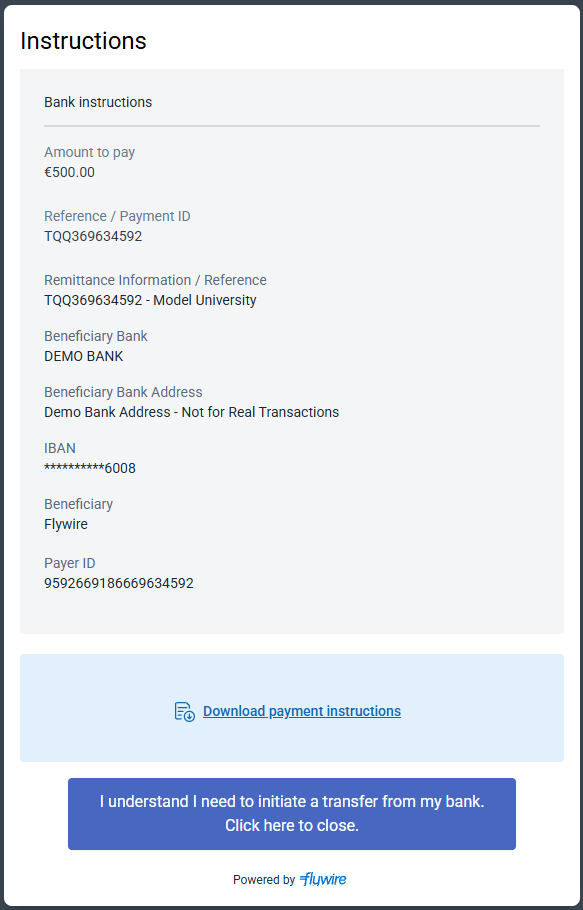
Bank transfer instructions
Read-only form that displays the necessary information for making the bank transfer.
Download option
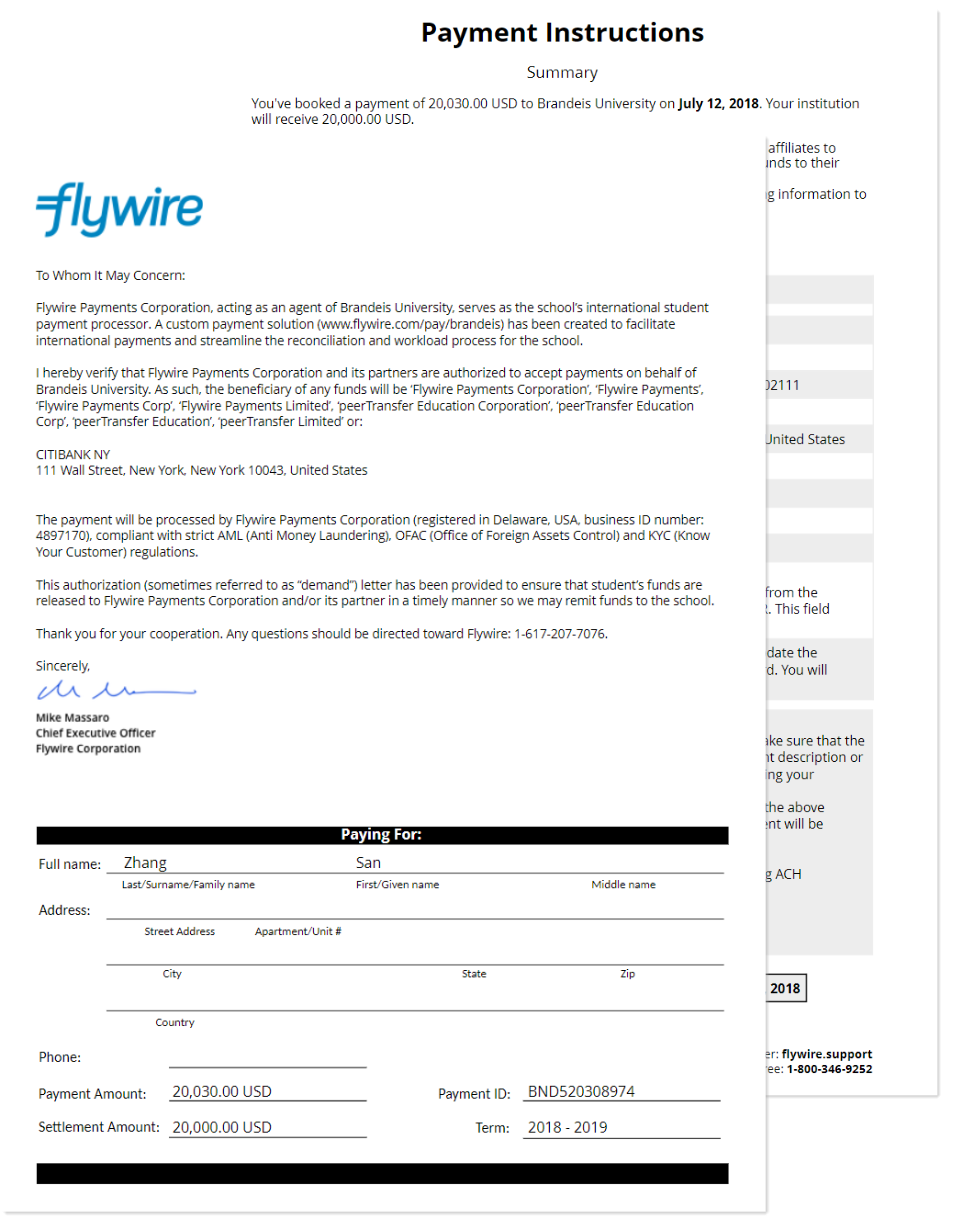
The payer has the option to download the instructions. If an authorization letter is needed, it will be included in the download.
|
|
Some international payments require an Authorization letter. It explains the partnership between you and Flywire, and contractually authorizes Flywire to collect payments on your behalf. The authorization letter always comes together with the payment instructions for the bank transfer. |
Action button
Button for closing the read-only form.
Implementing the Instructions Element
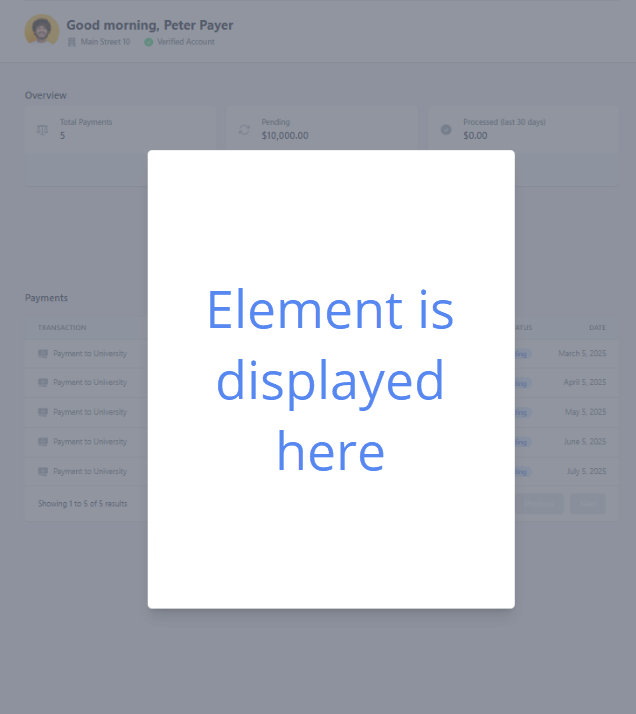
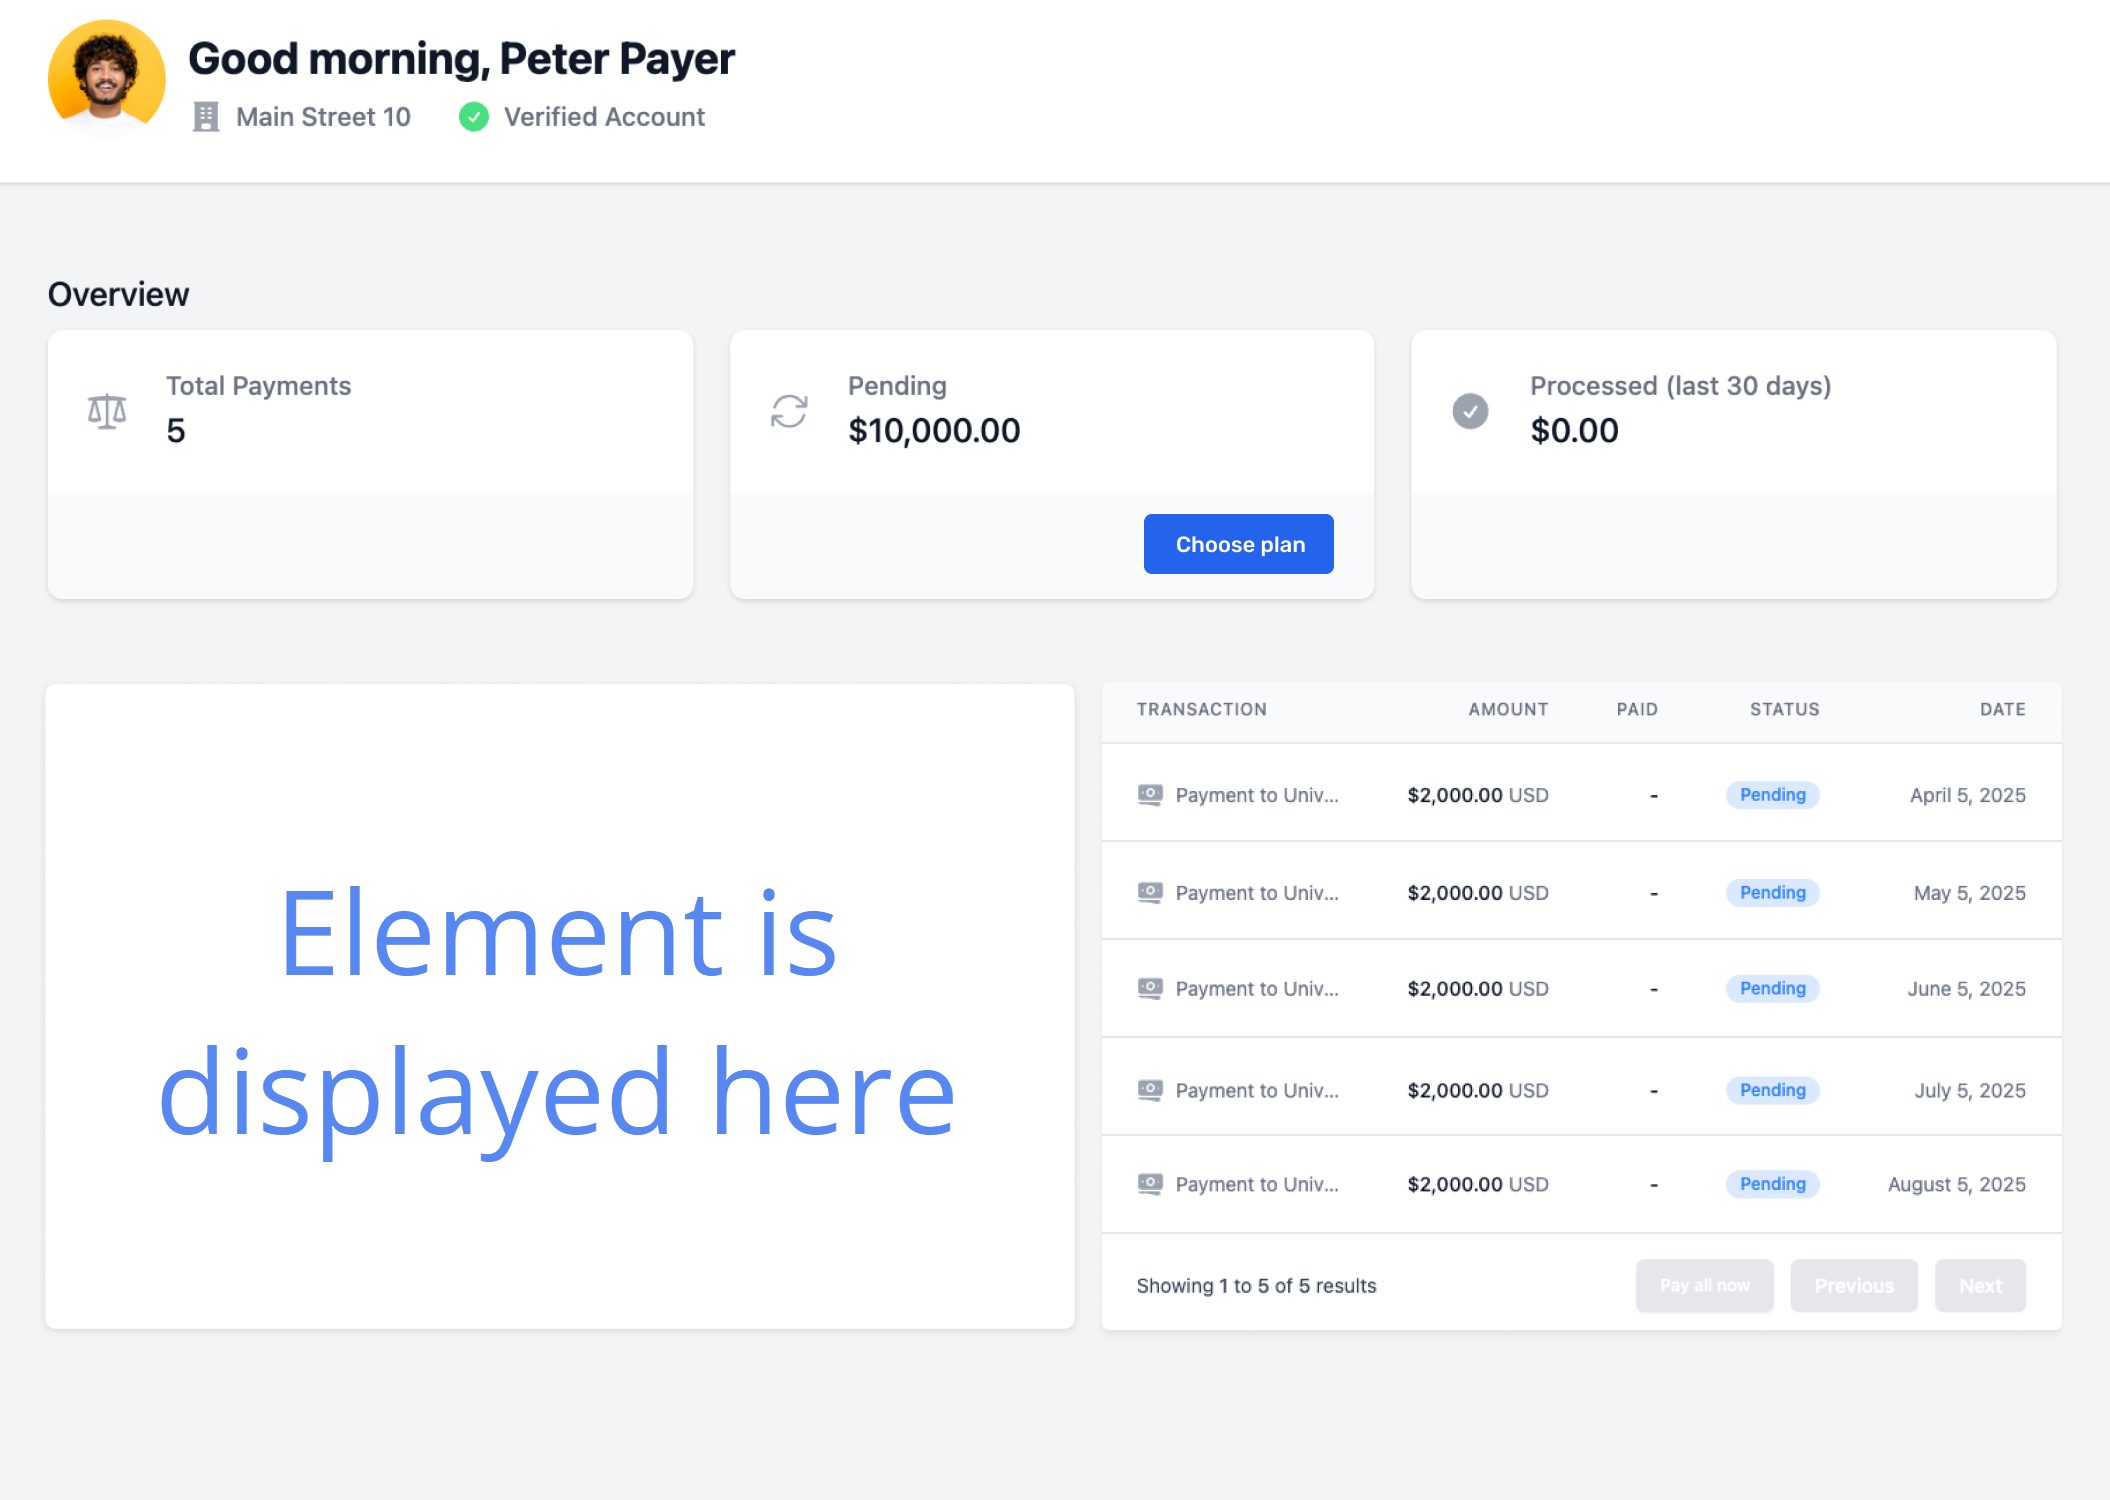
Example page
Bank transfer instructions are only available as long as the payment is in status  Initiated. If you try to display the instructions when the payment is in any other status, a blank page will be displayed.
SDK script
Add the Flywire SDK script in the header of your page:
Production:
https://artifacts.flywire.com/sdk/js/v0/main.js
Sandbox:
https://artifacts.flywire.com/sdk/js/v0/sandbox.main.js
Container
Only if you embed the element within a container. Define a container where the element will be rendered.
Configuration script
Initialize the Flywire SDK with your frontend key
You receive the frontend key together with your other credentials when you register for the Flywire API.
Define the appearance of the element
See Element appearance.
Create and configure the element
You want to create an instructions element.
Available elements:
-
payment (see Payment Element)
-
paymentInstructions (see Instructions Element)
Load the instructions via the token.
Specify the payment to which the instructions belong.
How do you want to display the elements?
Event listeners
Define what happens after the element is closed, see Event handlers for a detailed example.
Mount
See Mounting the element.
<!DOCTYPE html>
<head>
    <script src="https://artifacts.flywire.com/sdk/js/v0/sandbox.main.js"></script>
</head>
<body>
    <div id="my-container-id"></div>

    <script type="module" crossorigin="anonymous" async type="text/javascript">
        (async () => {
            var sdk = await window.FlywireSDK(
                "your-frontend-key-here" // Replace with your actual frontend key
            );

    var elements = await sdk.elements({
    appearance: {
        fonts: [
            {
                url: "https://fonts.googleapis.com/css2?family=Roboto:ital,wght@0,100;0,300;0,400;0,500;0,700&display=swap",
                fontFamily: "Roboto",
            },
        ],
        variables: {
            primaryColor: "#5a81f0",
            headerFontSize: '1.25rem'
        },
    },
    locale: "en",
});

    var element = await elements.create("paymentInstructions", {
    token: "payment-token", // Use the payment_token from the response after conforming the Checkout Session
	paymentReference: "payment-reference", // The reference of the payment for which these instructions are for (also included in the response after confirming)
    displayMode: "container",
});

     element.onEvent("success", handleSuccess); // Handle success event
     element.onEvent("error", handleError);    // Handle error event

     element.mount("my-container-id"); // Mount the element to the container
        })();
    </script>
</body>
</html>
Fonts
Here you can customize the font of the element:
url string (url)
Provide a URL pointing to a Google Font or a URL from the same origin as your website.
For security reasons, only same-origin URLs and Google Font URLs are allowed.
fontFamily string
Specify the font family name as you would in a CSS stylesheet. This replaces the default font-family used in the element’s CSS.
Ensure the font family name matches the one defined in the URL.
Variables
primaryColor
Here you can customize the primary color of the element. Provide the hex value of the color you want to use.
|
Radio buttons |

|
|
Links |

|
|
Action button |

|
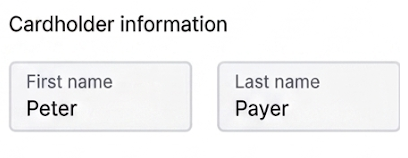
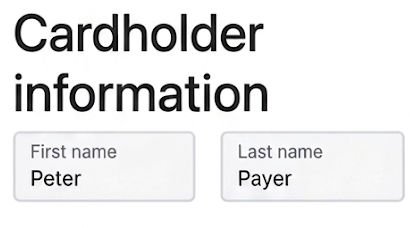
headerFontSize
Here you can customize the font size of the header. The default size is 0.875rem (14px).
Accepted values:
-
CSS units (px, em, rem, %, vw, vh, pt,etc.)
-
ACSS keyword sizes (small, medium, large, x-large, etc.)
If an invalid value is used, the default size is applied.
| Default header size | Big header size |
|
|
Locale
Defines in which language the element is shown.
If you don't provide the locale, the default is English.
| Language | Value for locale |
|---|---|
| English | en |
| Spanish | es-ES |
| Chinese | zh-CN |
| Korean | ko |
| Portuguese | pt-PT |
| Japanese | ja |
| French | fr-FR |
| Bahasa Indonesia | id |
| Arabic | ar |
| Vietnamese | vi |
| Italian | it-IT |
| German | de-DE |
var elements = await sdk.elements({
    appearance: {
        fonts: [
            {
                url: "https://fonts.googleapis.com/css2?family=Roboto:ital,wght@0,100;0,300;0,400;0,500;0,700&display=swap",
                fontFamily: "Roboto",
            },
        ],
        variables: {
            primaryColor: "#5a81f0",
            headerFontSize: '1.25rem'
        },
    },
    locale: "en",
});token
You need to use the payment_token, which you can get in two ways:
-
You received it in the response after confirming the Checkout Session.
-
You can also find it in the response for getting payment details.
The payment token maps a payment to its bank transfer instructions for Smart Rendering.
Format:
A 36-character string in 8-4-4-4-12 format, for example
4b265027-bc17-4fab-ae83-e76705128758
paymentReference
You need to use the payment reference of the payment you created in an earlier step with the element for bank transfer payments.
The payment reference is an ID generated by Flywire to identify a payment.
Format:
Either: ABC123456789
3-letter portal/recipient ID 9 numbers
Or: 1AB12CD452ABC1D
number 8 alphanums number 5-alphanum portal/recipient ID
With the payment reference, the payment can be tracked through the different stages of the payment process.
The payment reference is also important in other situations, for example:
-
When a payer is using bank transfer as payment method, they usually must provide the payment reference when sending the funds.
-
The payment reference helps Flywire to identify the payment if you or your payer needs support.
You can find the payment reference in the response after confirming the Checkout Session.
For existing payments, you have various options to look up a payment reference:
Flywire API: You can find payment references by Getting a List of all Payments.
Callbacks: All payment callbacks contain the payment reference, see Payment Status Notifications.
Display Mode
There are two different display modes:
-
container: To embed the element in a container in your website.
-
full-screen: To display the element in a pop-up (a modal that covers the full-screen with a background)
If you don't provide this value, the default is full-screen.
var element = await elements.create("paymentInstructions", {
    token: "payment-token", // Use the payment_token from the response after conforming the Checkout Session
	paymentReference: "payment-reference", // The reference of the payment for which these instructions are for (also included in the response after confirming)
    displayMode: "container",
});There are two key events you need to set up event handlers for:
Success Event (success)
This event is triggered when the element was sent successfully.
Optional: Display a custom success message to your payer.
Mandatory: Send the postMessage data to your backend.
Error Event (error)
This event is triggered when there was an error or when the payer closed the element.
Optional: Display a custom error message to your payer.
Mandatory: Send the error message to your backend for troubleshooting.
// Success event handler
element.onEvent("success", (sessionResult) => {
    // Custom success message for your payer
    const customSuccessMessage = "Please make a bank transfer. To view the instructions again, go to....";

    // Send the session result to the backend
    fetch('/your-backend-endpoint', {
        method: 'POST',
        headers: {
            'Content-Type': 'application/json',
        },
        body: JSON.stringify(sessionResult),
    });

    // Show the custom success message to the payer
    alert(customSuccessMessage);
});

// Error event handler
element.onEvent("error", (error) => {
    // Custom error message for your payer
    const customErrorMessage = "Something went wrong. Please try again.";

    // Send the error details to the backend
    fetch('/your-backend-endpoint', {
        method: 'POST',
        headers: {
            'Content-Type': 'application/json',
        },
        body: JSON.stringify(error),
    });

    // Show the custom error message to the payer
    alert(customErrorMessage);
});
- Full-screen
- Container
Mounting as a pop-up in a full-screen overlay
For mounting the element as a full-screen pop-up , the displayMode must be set to full-screen. Don't specify a container ID, simply use the mount function.
element.mount(); // Mount the element as a pop-up in a full screen overlay Mounting in a container
When you are mounting the element in a container, you need to state a container ID here and ensure to include a container with the same ID on your website .
If you provided a valid container ID and the element still gets rendered as a pop-up, check your displayMode settings. It must be set to container, not full-screen.
element.mount("my-container-id"); // Mount the element to the containerExample page
Bank transfer instructions are only available as long as the payment is in status Initiated. If you try to display the instructions when the payment is in any other status, a blank page will be displayed.
CSS
Add CSS to adjust the layout of the form in the iframe.
iframe
Source
You need to use the hostedFormUrl, which you can get in two ways:
-
You received it in the response after confirming the Checkout Session (see Example for getting the hostedFormUrl for an example of where to find the url).
-
You can also find it in the response for getting payment details.
Dimensions
Give the iframe a fixed height and width to avoid it filling up the whole screen.
| Form | Type | Height | Width |
| Card | tokenization |
823 |
660 |
| tokenization and pay | 1010 | 660 | |
| new mandate | 320 | 660 | |
| Direct debit | SEPA tokenization | 835 | 660 |
| SEPA tokenization and pay | 968 | 660 | |
| BACS tokenization | 928 | 660 | |
| EFT Canada tokenization | 928 | 660 | |
| ACH tokenization | 928 | 660 | |
| Bank transfer | Bank transfer | 835 | 660 |
| Type | Height | Width |
| Bank transfer instructions | 835 | 660 |
Event listener
Implement an event listener in the parent window to receive the postMessages after the form is completed.
See PostMessages of the event listener for an example.
<!DOCTYPE html>
<head>
    <style>
        .my-iframe {
            padding: 18px;
            margin: 32px 0px;
            background: #FFFFFF;
        }
    </style>
</head>
<body>

    <!-- iframe to display the Flywire form -->
    <iframe
        src="{hostedFormUrl}"
        id="flywireform"
        title="Flywire Payment Form"
        class="my-iframe"
        height="928"
        width="660">
    </iframe>

    <script>
     window.addEventListener("message", (event) => {
    const data = event.data;

    if (
        event.origin.endsWith(".flywire.com") &&
        data &&
        data.source === "checkout_session"
    ) {
        console.log("Received checkout_session message from Flywire:", data);
    }
});
    </script>
</body>
</html>
Example for getting the hostedFormUrl
This is a response after confirming a Checkout Session that contains the url you need to provide under src="{hostedFormUrl}":
The payment reference.
The payment reference is an ID generated by Flywire to identify a payment.
Format:
Either: ABC123456789
3-letter portal/recipient ID 9 numbers
Or: 1AB12CD452ABC1D
number 8 alphanums number 5-alphanum portal/recipient ID
With the payment reference, the payment can be tracked through the different stages of the payment process.
The payment reference is also important in other situations, for example:
-
When a payer is using bank transfer as payment method, they usually must provide the payment reference when sending the funds.
-
The payment reference helps Flywire to identify the payment if you or your payer needs support.
charge_info object
The payment amount in the payer currency.
The amount is specified in the smallest unit of the currency, called subunits. For example, in USD, the subunit is cents, and 100 cents equal 1 USD. So, an amount of 12025 (cents) is equivalent to 120.25 USD.
Note that the subunit-to-unit ratio varies by currency, it is not always 100. See Currencies for the subunits of each currency.
The payer currency.
Format:
Three-letter ISO 4217 currency code, for example EUR.
payment_instructions object
The payment instructions allow you to display the bank transfer instructions on demand via the instructions element.
To be able to make a bank transfer payment, it is crucial that the payer has access to the bank transfer instructions. There are multiple options for the payer to access the information:
-
The instructions are displayed to the payer after they entered their details in the bank transfer payment element.
-
The payer also has the option to download the instructions from the element, including an authorization letter if one is needed.
-
You can display the instructions on demand with the instructions element. The payer also has the option to download the instructions here.
-
You should also send a link to the instructions to the payer via email. This can either happen automatically or you can do it manually, see One Off Payments: Emails to Your Payer.
hosted_form object
The hosted-form-URL. This is the URL your iframe displays.
The method (GET).
The hosted form is relevant when you use iframe rendering for displaying the bank transfer instructions..
The payment token that has been generated.
The payment token maps a payment to its bank transfer instructions for Smart Rendering.
Format:
A 36-character string in 8-4-4-4-12 format, for example
4b265027-bc17-4fab-ae83-e76705128758
The payment token is relevant when you use Smart Rendering for displaying the bank transfer instructions.
payor object
This information is returned so you can confirm the payer's country and email address.
Why is confirming the payer's country necessary?
Payments in the USA require delivering the receipt to the payer. If Flywire handles emails for you, Flywire will send the receipt automatically. If you are handling emails yourself, you need to ensure to send the receipt to your payer.
-
How to check whether the payer is from the USA:
You get the payer country information in the response after confirming a Checkout Session.
Alternatively, you also get the information by Getting Details about a Payment
-
How to get the receipt for the payment:
You can use the endpoint for Getting a Payment Receipt to download the receipt that Flywire created for you.
-
How to send the receipt to your payer:
For self-managed recurring payments, in the "Charge Successful" email for each payment, see Recurring Payments: Emails to Your Payer.
For One Off payments and Pre-Authorization Payments, in the "Payment Guaranteed" email for the payment, see One Off Payments: Emails to Your Payer or Pre-Authorization Payments: Emails to Your Payer.
Why is confirming the payer's email address necessary?
Even if you pre-filled the payer information with an email address, your payer might have changed it when filling out the form.
If you are handling emails yourself, you need to ensure you have the correct email address for the payer.
The ISO2 code of the payer country (the country the money was sent from).
The payer's email address.
The payer's state.
{
"payment_reference": "RUC208967136",
"charge_info": {
	"amount": 100000,
	"currency": "EUR"
	},
"payment_instructions": {
    "hosted_form": {
        "url": "https://payment-checkout.flywire.com/v1/payments/TQQ639538199/payment_instructions/form?token=2fa802c8-fcd2-4be0-b2f8-5896ba0e700d",
        "method": "GET"
    },
	"payment_token": "2fa802c8-fcd2-4be0-b2f8-5896ba0e700d"
	},
"payor": {
	"country": "US",
	"email": "[email protected]",
	"state": "NY"
    }
}
PostMessages of the event listener
 Success
 Cancelled
 Not found
After your payer read the instructions, they can click on the action button to close the instructions. In that case, the event listener will return a successful postMessage.
The postMessage contains the following information:
This parameter helps you filter the PostMessages to only return the result of the Checkout Session. This is only necessary when you render via iframe.
Indicates if the Checkout Session was successful.
true: Checkout Session successful
false: Checkout Session failed
You can use this parameter to filter the PostMessages to only return successful ones. This is only necessary when you render via iframe.
{
source: "checkout_session",
success: true
}
This message means that the payer has closed the form and therefore cancelled the session before the form was sent.
Note for ![]() Elements :
Elements :
If you get this message after displaying the bank transfer instructions element, it might just mean the payer finished reading and used the "close" button instead of the action button. In any case, you should make sure that the instructions are always available to your payer, by displaying them on demand in your UI or by sending them to your payer via email (see One Off Payments: Emails to Your Payer - Bank Transfer Instructions).
It depends on your implementation if the payer has the option to cancel a session:
| Smart Rendering - inline | No cancel option (button not displayed) |
| Smart Rendering - full screen (as a pop up) | Cancel option available (button displayed) |
| iframe rendering | No cancel option (button not displayed) |
Indicates if the Checkout Session was successful.
true: Checkout Session successful
false: Checkout Session failed
You can use this parameter to filter the PostMessages to only return successful ones. This is only necessary when you render via iframe.
This parameter helps you filter the PostMessages to only return the result of the Checkout Session. This is only necessary when you render via iframe.
errorsarray
Array of errors. Each error contains:
The type of error.
A more detailed description of the error.
{
  "success": false,
  "source": "checkout_session",
  "errors": [
    {
      "type": "cancelled",
      "message": "The session has been cancelled by the user."
    }
  ]
}
This error is returned if the bank transfer instructions are not available. This can be the case if the payment is in any other status than Initiated.
errors array
Array of errors. Each error contains:
The type of error, for example cancelled.
A more detailed description of the error.
This parameter helps you filter the PostMessages to only return the result of the Checkout Session. This is only necessary when you render via iframe.
Indicates if the Checkout Session was successful.
true: Checkout Session successful
false: Checkout Session failed
You can use this parameter to filter the PostMessages to only return successful ones. This is only necessary when you render via iframe.
{
"errors": [
	"0":{
		"type": "unavailable",
		"message": "The bank transfer instructions are not available."
   		}
		],
source: "checkout_session",
success: false
}
